UNDER CONSTRUCTION!
I have started producing a desk lamp kit, below are the assembly instructions.
Step 1: Familiarize yourself with the parts
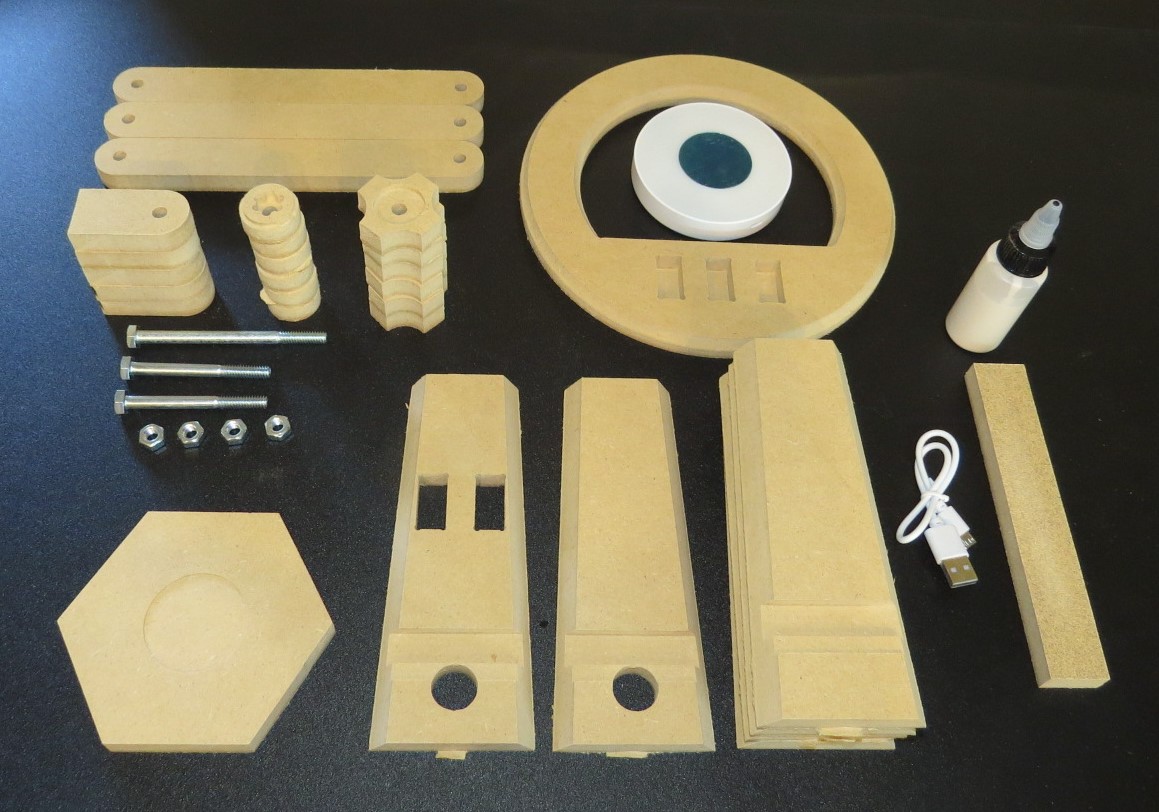
Parts List:
- Lamp Base
- Magnetic Light
- Light Steel Round
- Glue
- Sanding Block
- USB cable
- Lamp XXX
- Lanp shade top
- Lamp XXX bottom
- Lamp Inner Block
- Nuts (3 plus 1 extra, just in case!)
- 2 ½ inch bolts
- 3 ½ inch bolt
- Standoffs
- Inner Knobs
- Outer knobs
- Links
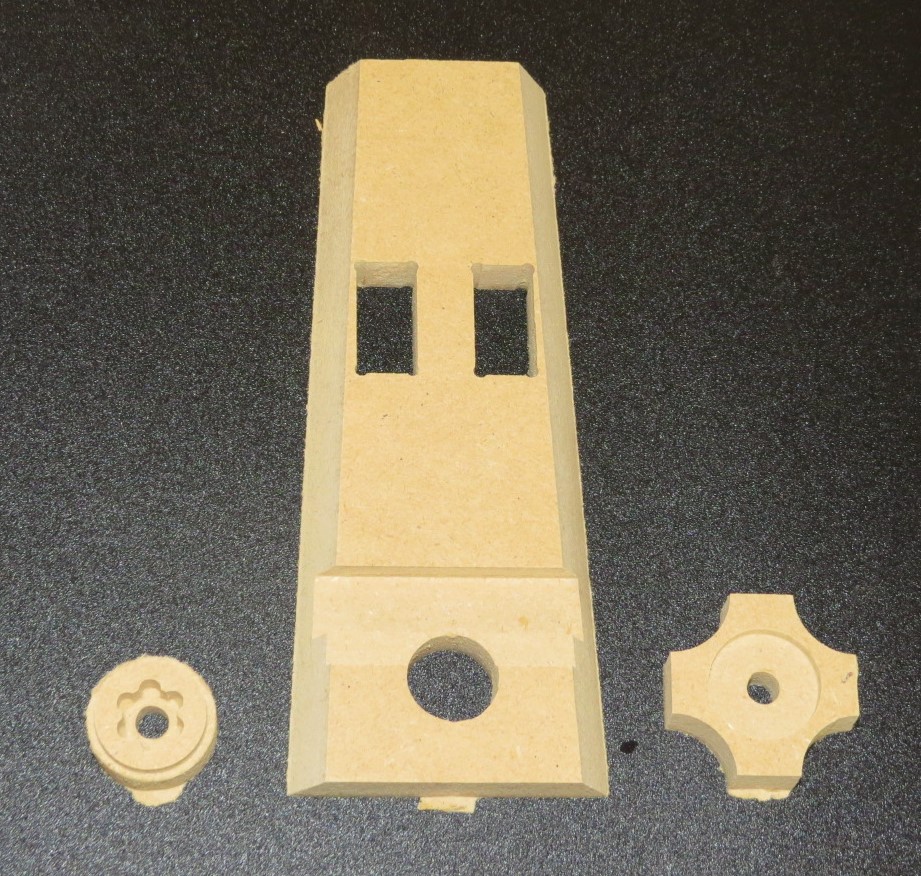
Step 2: Sand off tabs
Using the sanding block included, sand off the tabs (see below) from the knob inner, shade parts, and knob outer parts. I'd suggest doing this outside as it's kind of dusty.
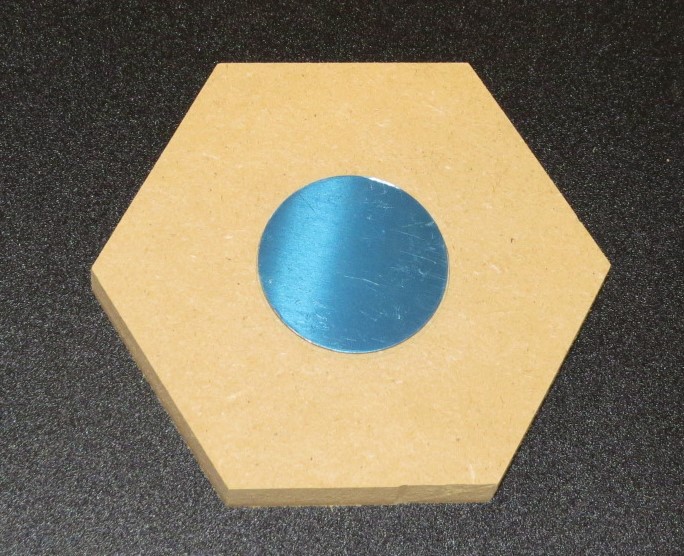
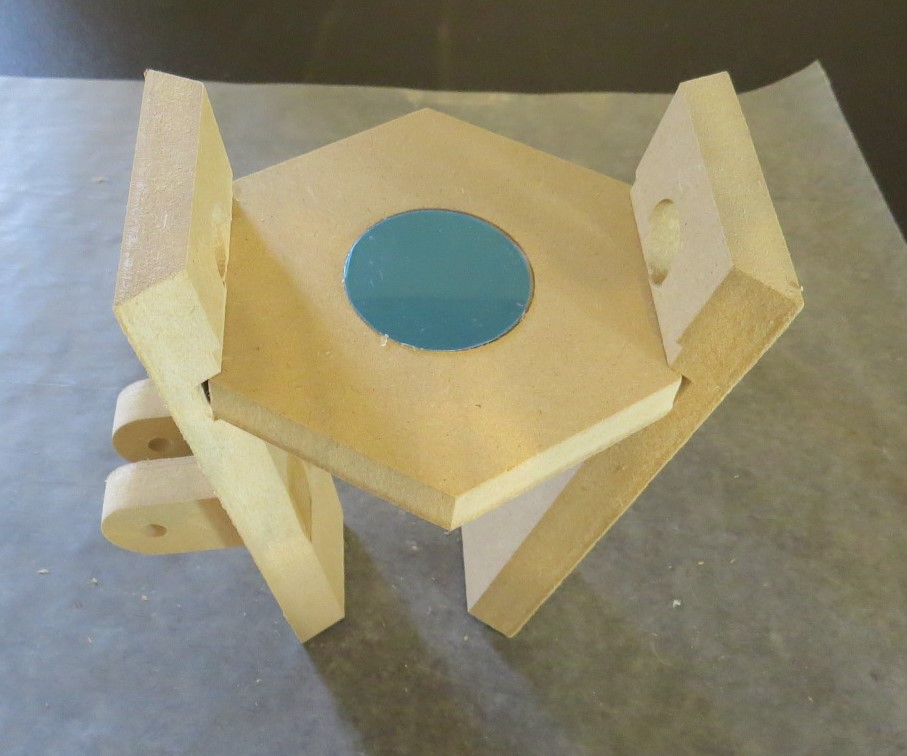
Step 3: Install steel disk on shade bulkhead
Peel the back off the steel disk, and install it in the hole in the shade bulkhead.
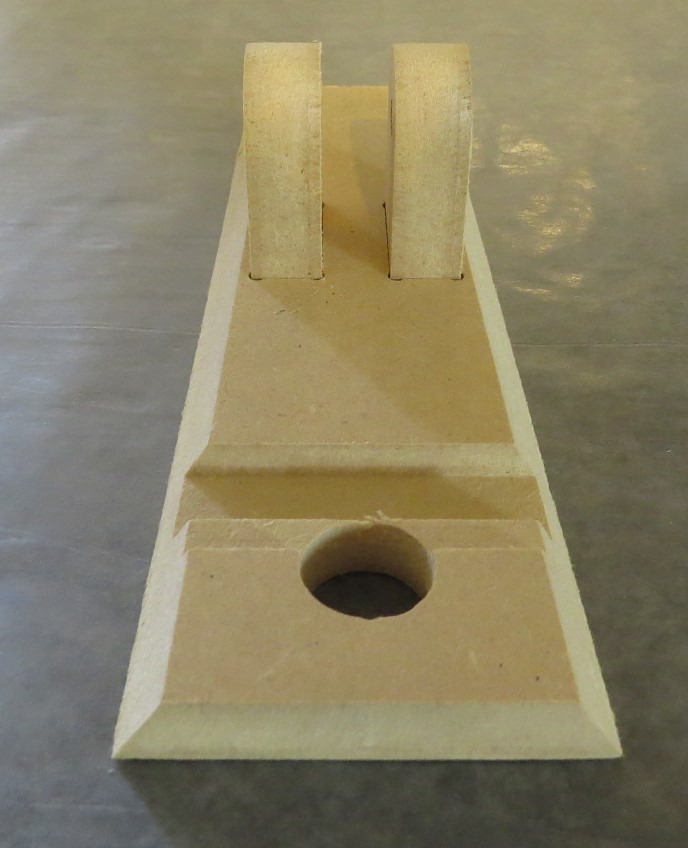
Step 4: Install brackets in the lamp shade bottom.
Before starting to glue the lamp together, place some wax paper, parchment, or newspaper under your working area to make sure the glue doesn't stick to the table.
Glue 2 brackets into the lamp shade bottom piece. Noe that these pieces need to be inserted in the side that's bigger, without the slots, as shown below: Make sure the brackets are pushed all the way down.
Wrong!
Wrong!
Correct!
Correct!
To make sure the brackets glue correctly, install one of the linnks between the brackets, and insert one of the short bolts through the holes. Let dry for at least 1 hour.
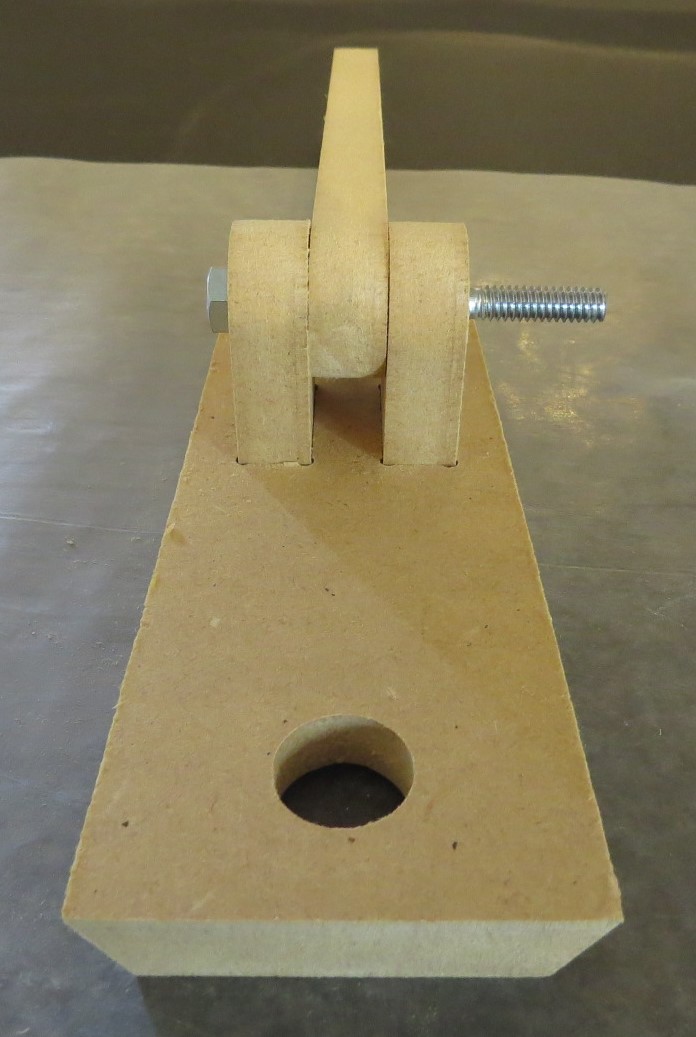
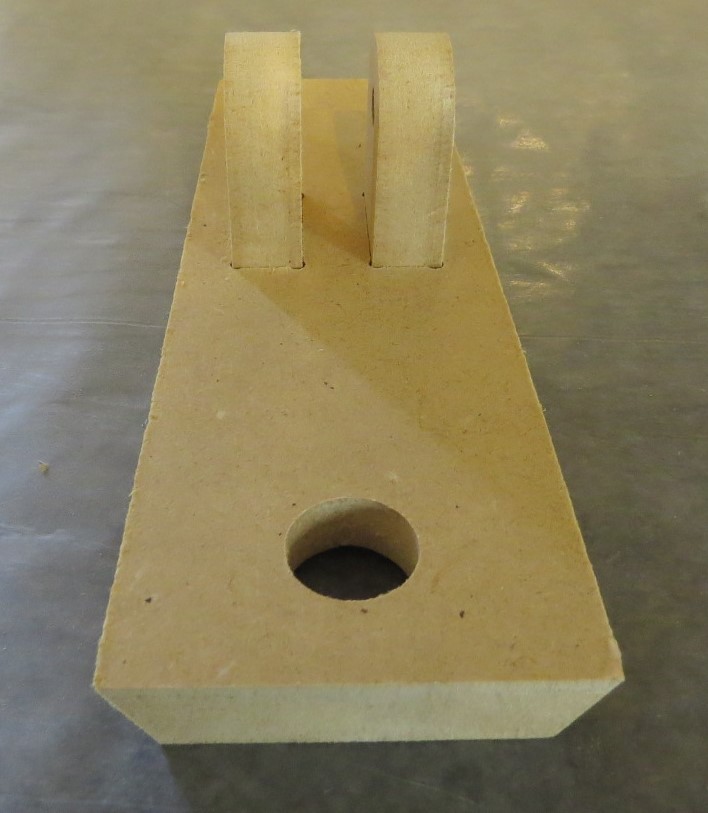
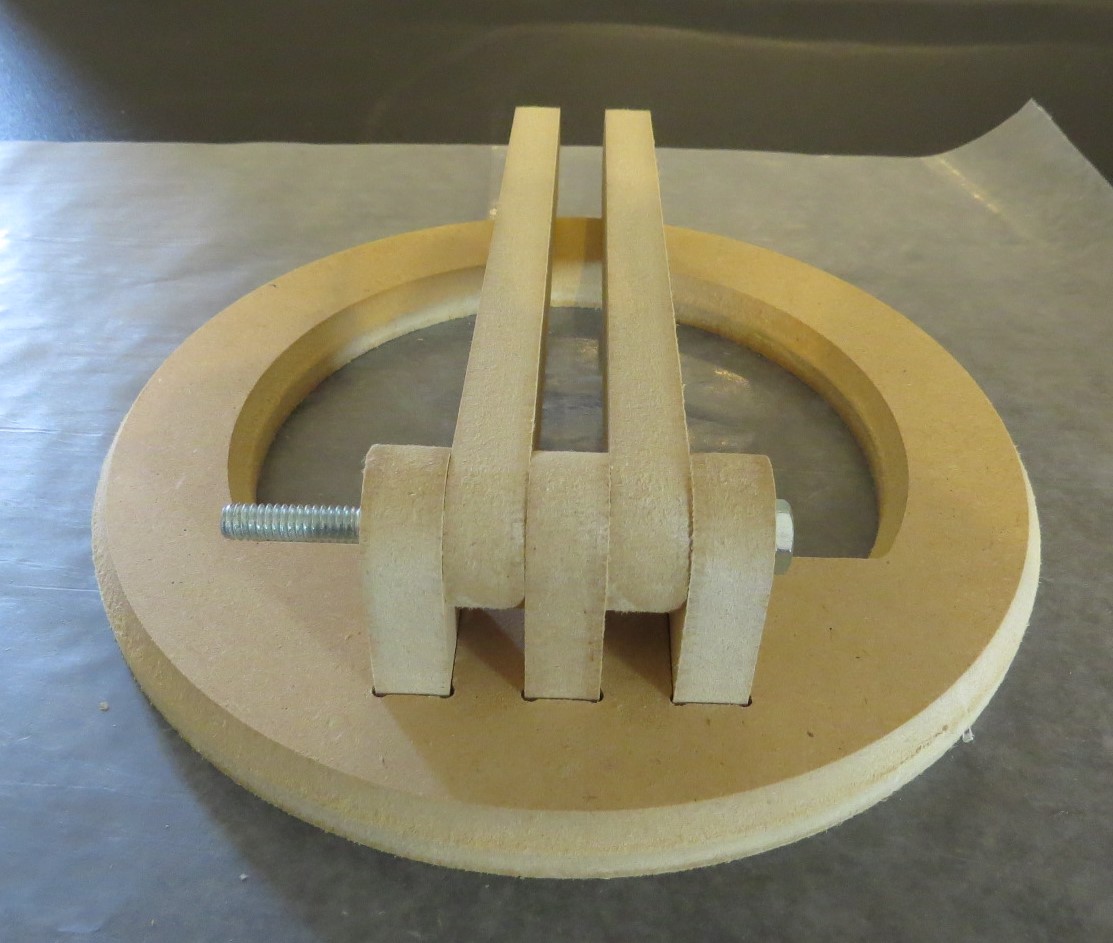
Step 5: Glue brackets into the lamp base
Just like above, glue 3 brackets into the lamp base, install 2 links, and put the long bolt through them to make sure everything lines up. Let dry for at least 1 hour.
Step 6: Make knobs
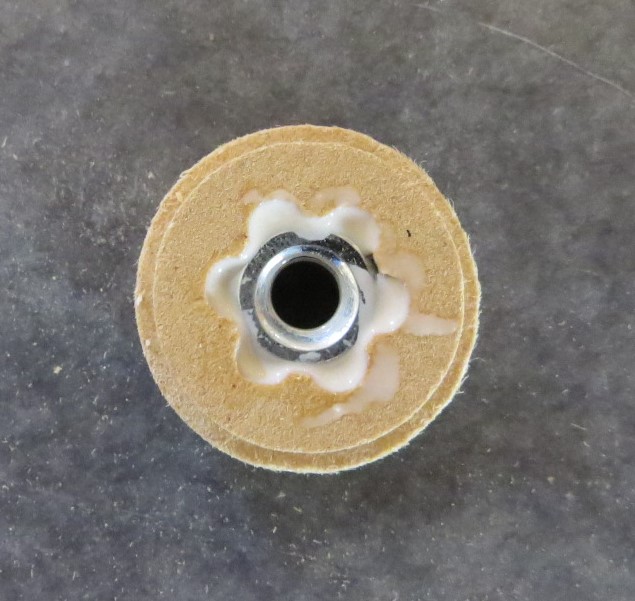
Install a nut into the knob inner part, and push it in as far as it will go. Then dab some glue around the nut, but try not to get any on the threads. If you do, use the included Q-Tip to clean out the threads.
Now put some glue on the top of the inner knob.
And glue the inner and outer knob pieces together.
Repeat to make 3 knobs with nuts in them.
Now, make the knobs with the bolts in them. Insert the bolt through the inner knob, and add glue around the bolt head.
Add glue to the top, and glue on the outer knob.
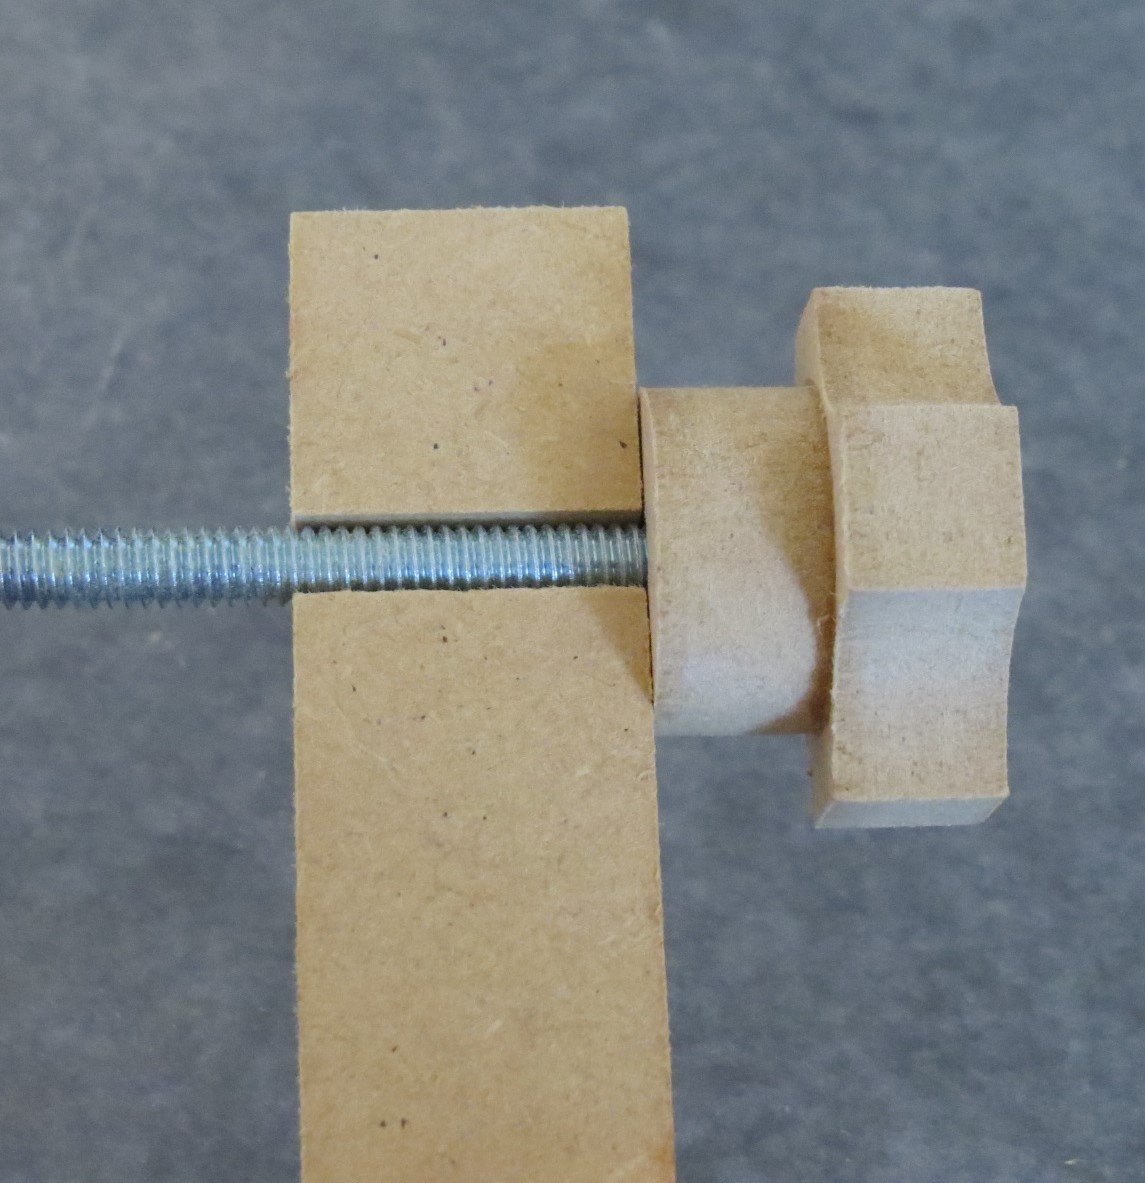
To make sure the bolt is installed correctly, use the slot in the back of the sanding stick to check it for square.
Let all knobs dry overnight before final assembly of the lamp.
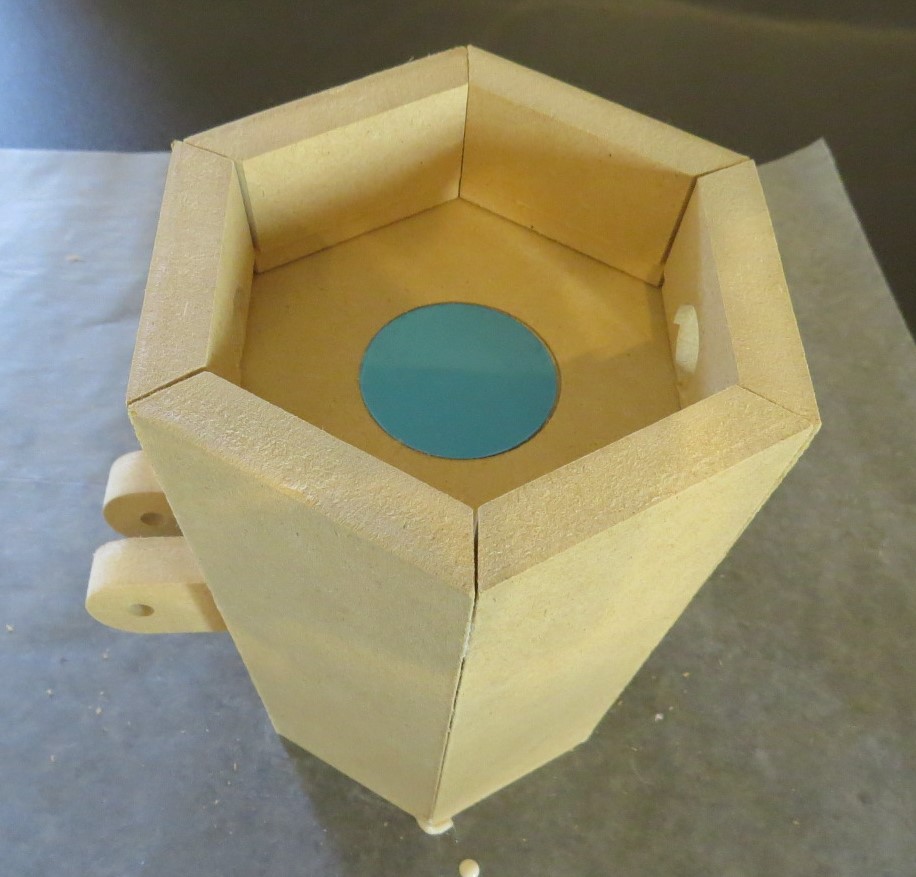
Step 7: Assemble the shade
Put glue in the deep slots in the shade top and bottom parts.

Attach the top and bottom to the shade bulkhead. Make sure the metal plate is facing up!
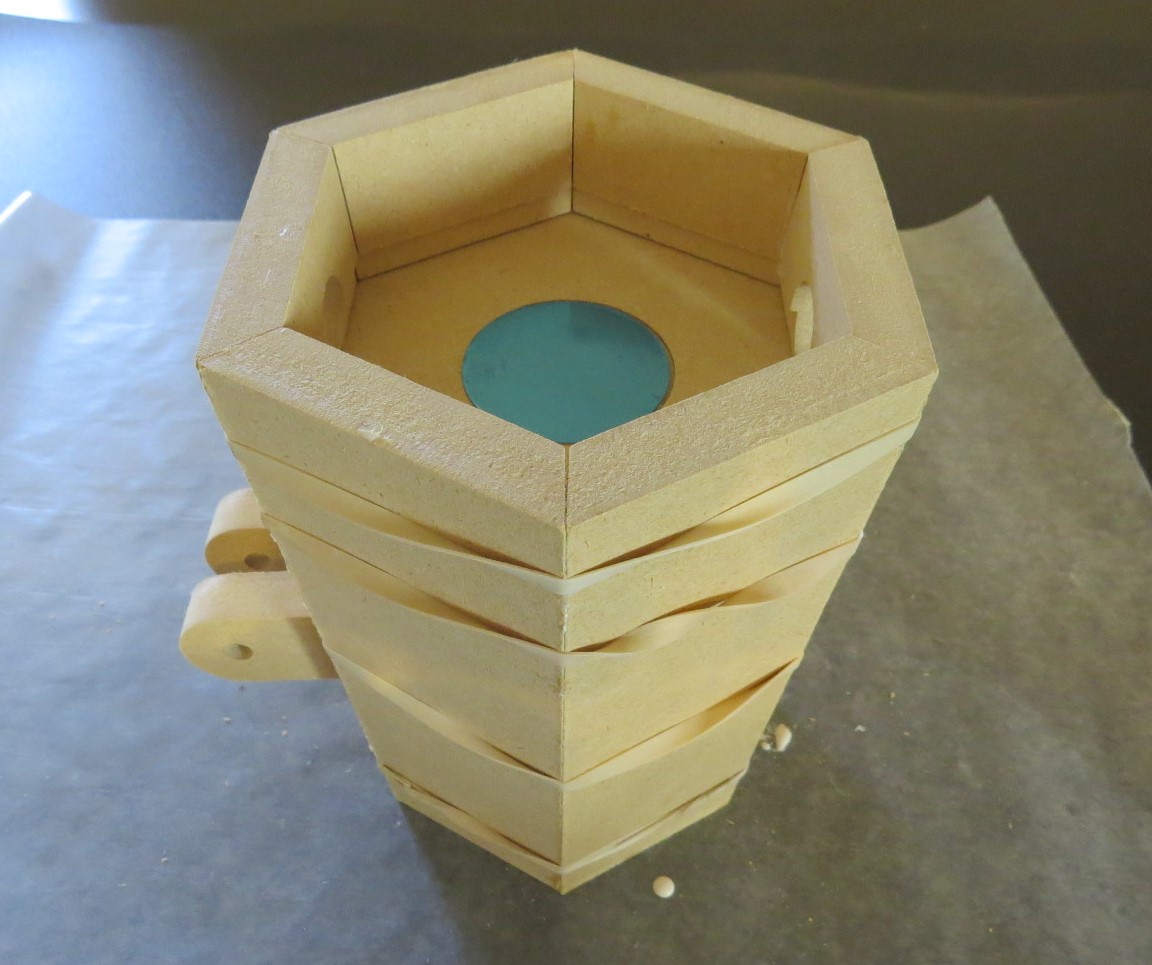
Add glue to the deep slots and the sides of the rest of the sides, and attach to the lamp shade.
Place rubber bands around the lamp shade and double check the ends to make sure everything lines up.
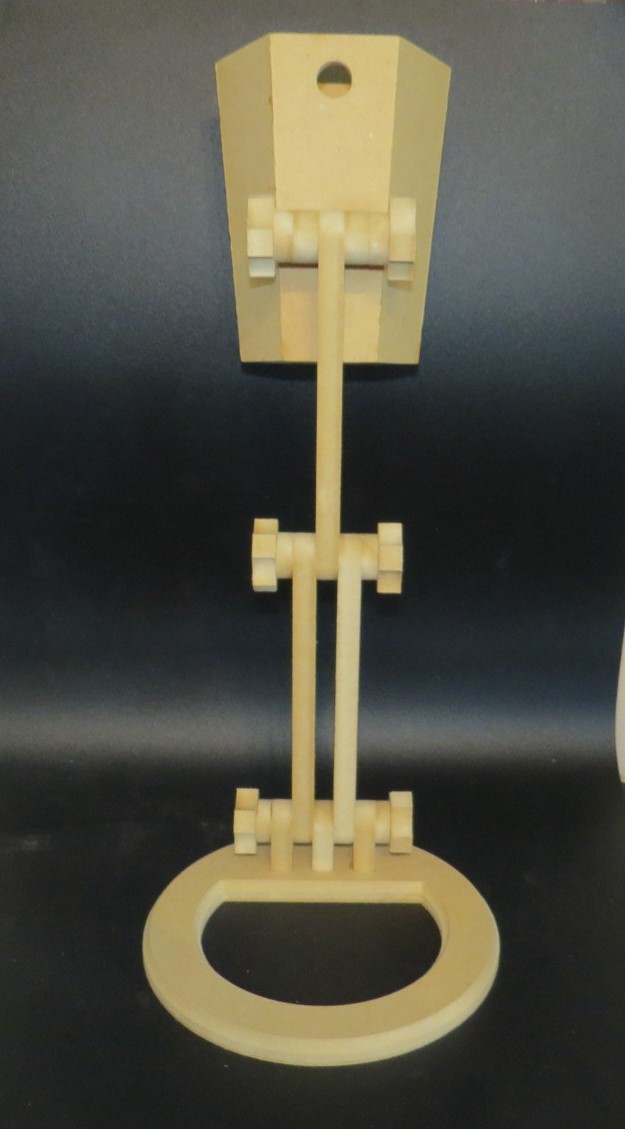
Step 8: Assemble the desk lamp
After the glue has dried on all the parts, assemble the lamp as shown below. The long bolt goes near the base of the lamp, and the 2 short bolts go in the middle and near the lamp shade.
All done! Install the light so the on/off switch is lined up with the top hole.
Short touch of the switch for ON/OFF, long touch for brighter and dimmer.
Light is spec'd to run for 120 hours in dimmest mode, and 6 hours in brightest mode.
You can recharge the light in the lamp through the hole in the bottom of the shade, or remove the light to recharge it.
